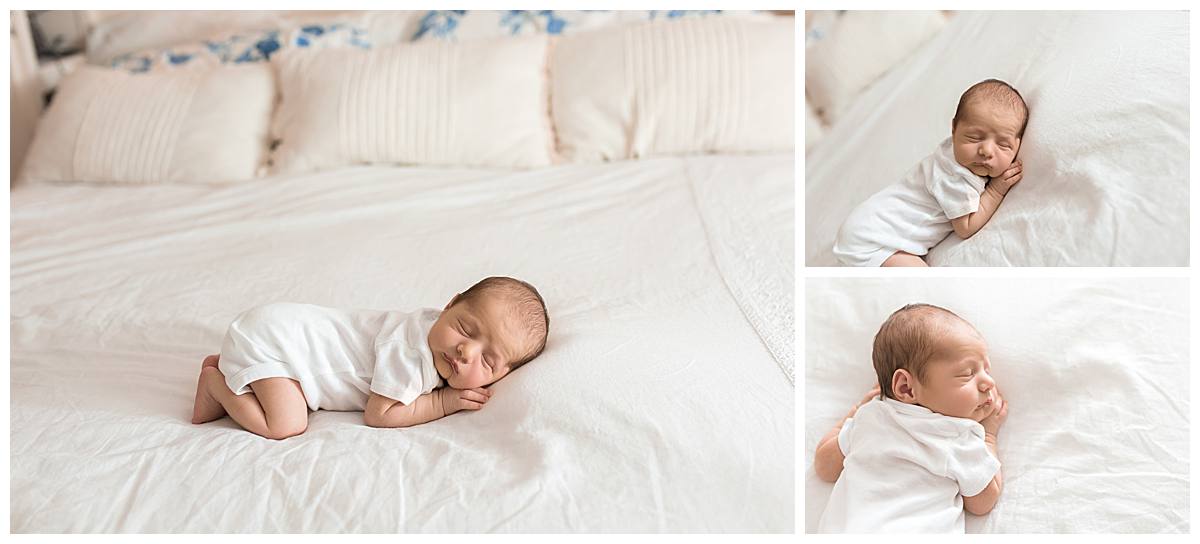
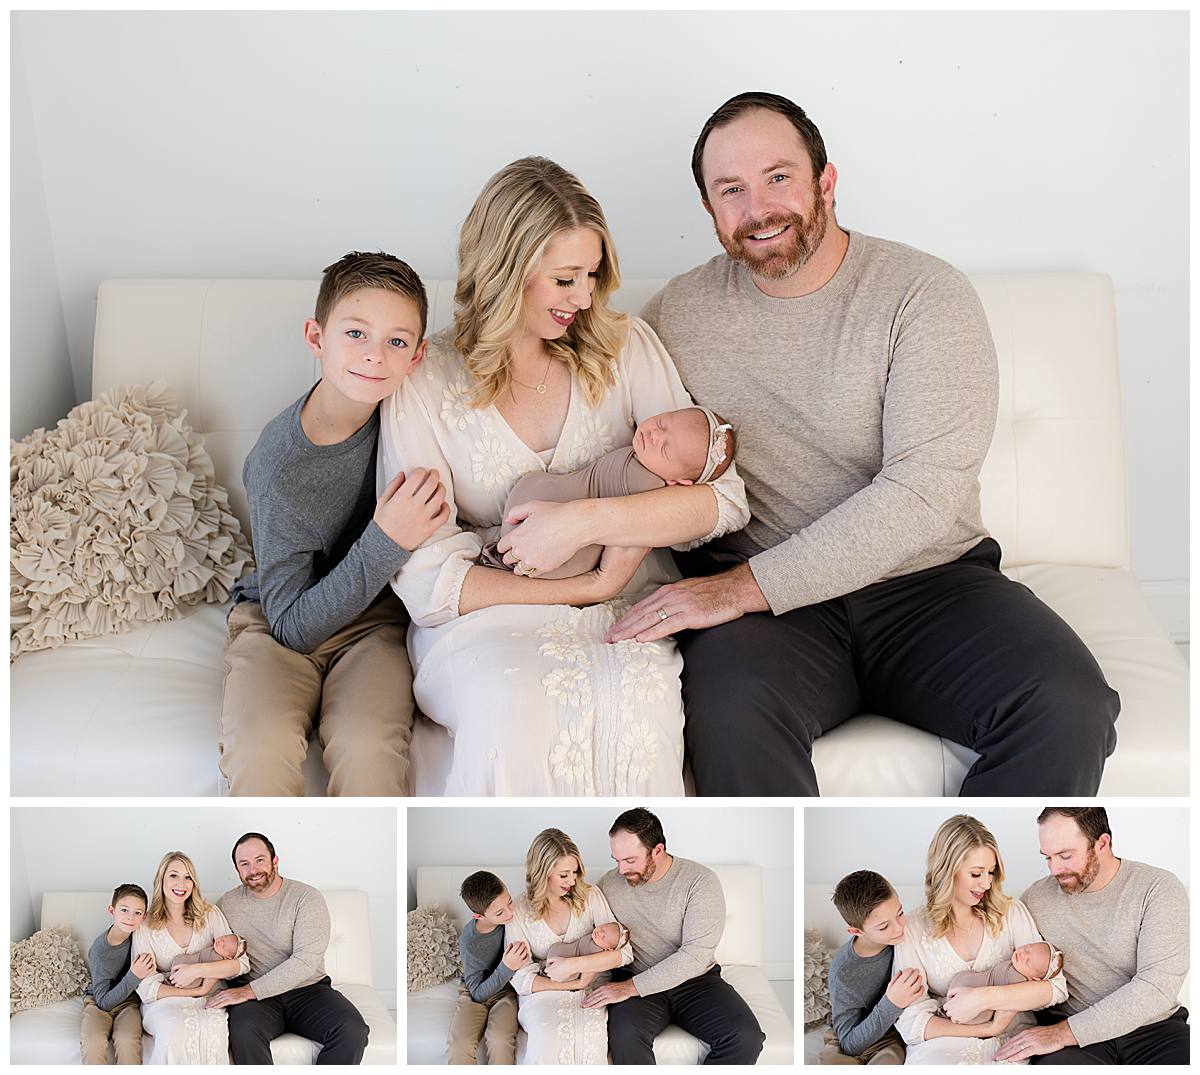
Photographing the journey of motherhood every step of the way
inquire now
Julie Kulbago Photography is a nationally published photographer who is trained in newborn safety practices and has mastered the technical knowledge & experience to use advanced photoshop techniques to capture challenging poses safely.
Her full service boutique photography studio works with families to capture fleeting moments so they last a lifetime. Let’s plan your perfect session!

How to take pictures of your newborn at home when the Corona virus has ruined your plans
If you are anything like me you are probably SOOOO tired of hearing about the Corona Virus / COVID 19. Those words meant nothing to me just a few short blissful weeks ago. Now, my kids have been home for a week and a half, we’ve been on “house arrest” and all non-life sustaining businesses have been forced to close down in my state! I never would have dreamed this would be my reality! In order to help all moms who thought they were going to be able to have their newborn professionally photographed, I wanted to put together some tips on how to take pictures of your newborn at home on your own!
As hard as it is on me to have had to push back all of the clients that I had scheduled, I also know that is really hard on them! After all, they had been planning on having their newborn’s picture taken for months. Newborn images can’t be postponed – there is no “we will do it in 2 months”. Newborn images are a now or never situation. For this reason, it broke my heart when I had to close my doors a few days ago (and I’m counting the days until I can open back up again!!)
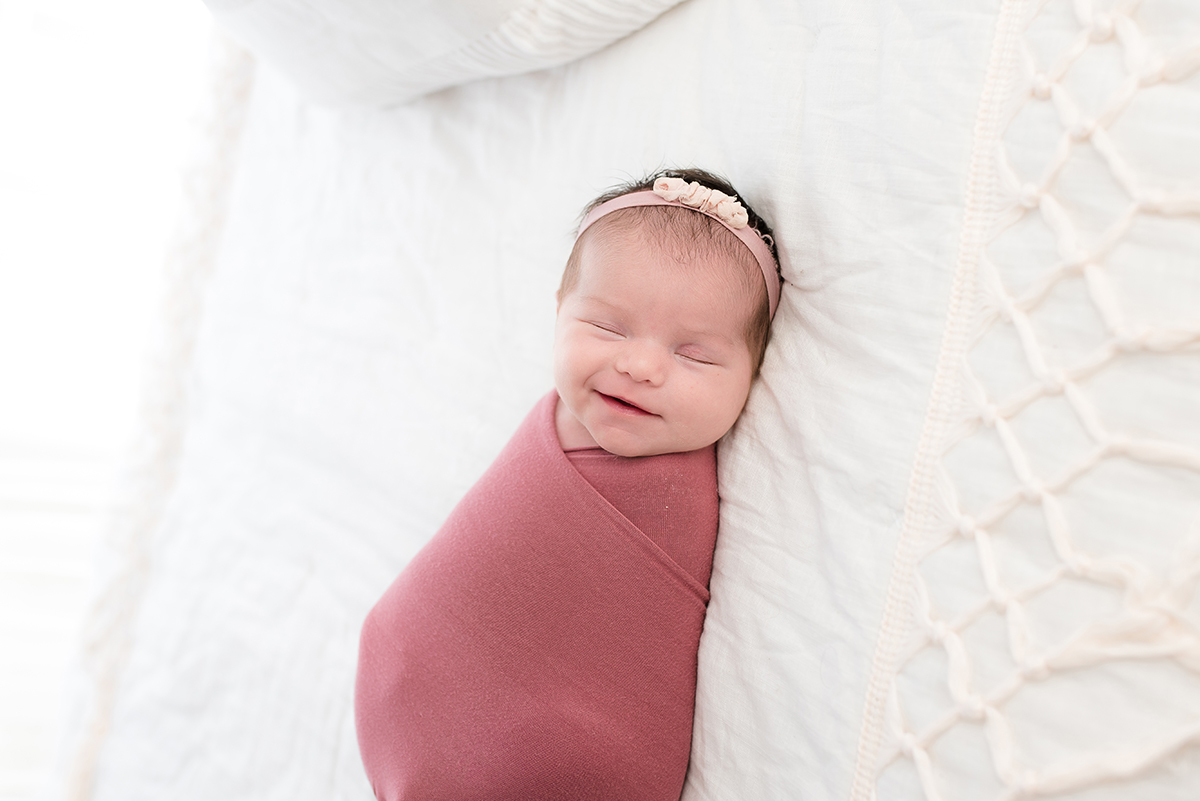
How to photograph your newborn at home
Set Realistic Expectations
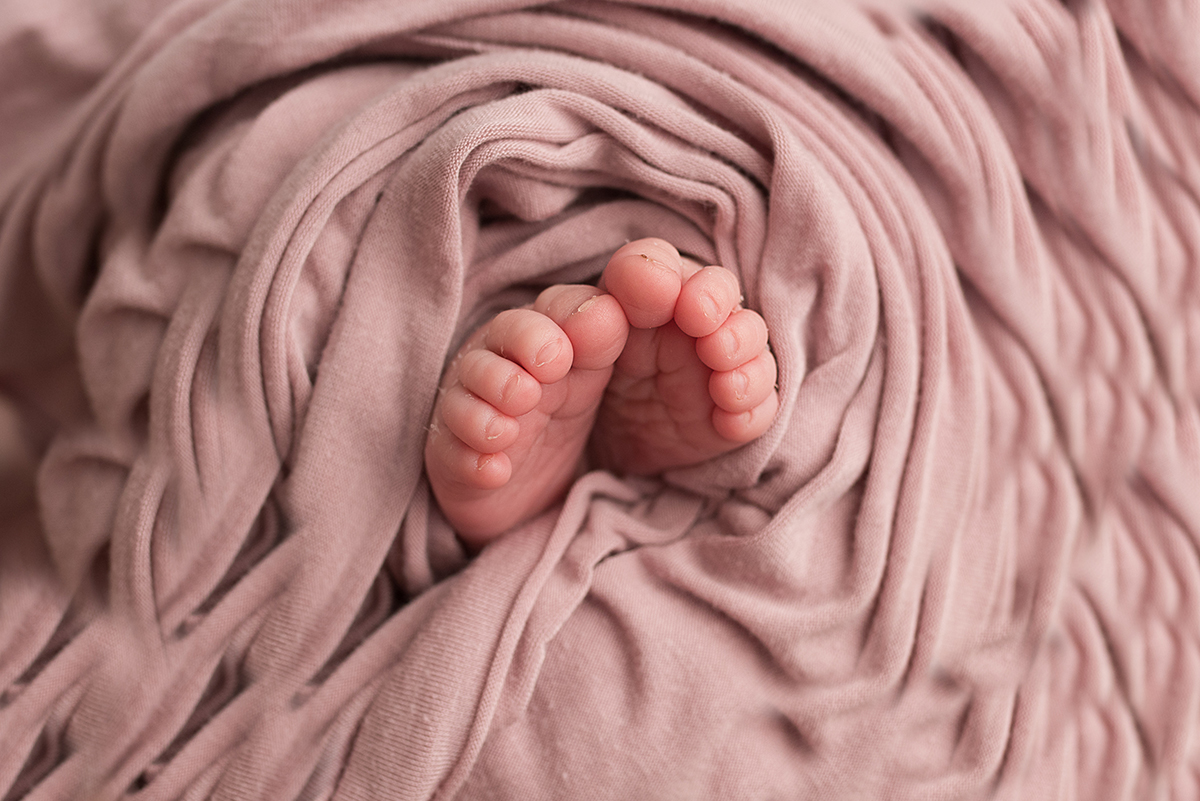
Unless you have been professionally trained, do not attempt any of the more difficult poses. Poses like the froggy pose, taco pose, hanging poses (hint – baby is NOT actually hanging) etc take a lot of practice, skill and expertise. Now, don’t be disappointed that you can’t capture those images. There are still a lot of beautiful images you can capture! Wrapped poses, newborn with siblings, parent images, detail images (toes, lips, lashes, fingers) and more!
Take Your Time
Unlike a studio photographer, you aren’t restricted to a particular day and a 3 – 4 hour window. Since you will have just given birth and most likely aren’t feeling super great, allow yourself time to heal. If you start taking pictures one day and aren’t enjoying it – just wait! The first 7-14 days are always stated as the ideal window for newborn photographer. But the type of images you will be capturing at home will be a little more lifestyle and a little less posed. Because of that, you really have more time – even up to 3 1/2 weeks will allow you the time to capture adorable sleeping images while still preserving your sanity.
Equipment | Camera
A dSLR is the ideal equipment for professional quality newborn images. If you asked yourself “What’s a dSLR . . . do I have a dSLR?” . . . don’t feel bad! A dSLR in simple terms is a “fancy camera” (lol). It’s one where you can control all the settings and change lenses.
It’s extremely important to be able to control settings in environments that might be less than ideal. If you don’t have one no worries! You can still use whatever camera you have available. For those of you who do, read on about the equipment and settings.
Equipment | Lens
Another piece of equipment you will want to have is a nice wide lens. A wide lens will allow you to capture more of the scene. A wide lens is something like a 24 or 35 mm. If you don’t have one don’t worry. You can still use a 50 mm (which most people have) with good results.
Camera Settings | Aperture
When you take pictures inside of your home, you will want to make sure your camera is letting in as much light as possible. To do this, you want to set your f-stop (aperture) as low as it will go.
Ok, don’t lose heart if you are getting confused. Let me talk a bit about aperture.
A f-stop means the aperture (which is the lens opening) is wide open and letting in lots of light. Here is a quick diagram that depicts different f-stops and the relative openness of your lens and how that affects how much light comes in.
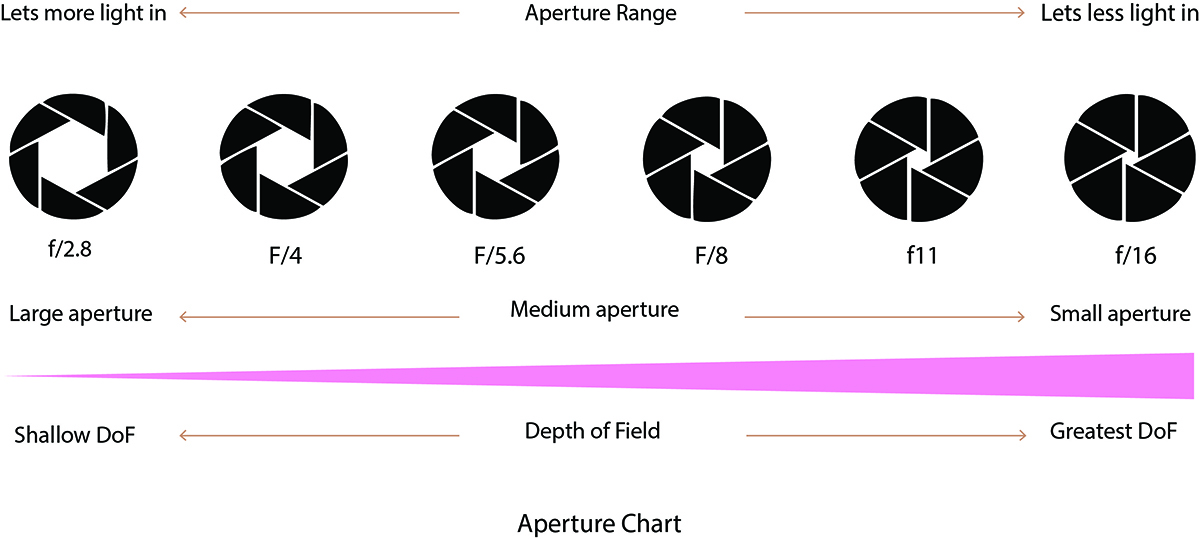
My camera/lens allows me to shoot at f1.4 (that’s wide open and lets lots of light in). Yours may not go that low – and that’s ok. Just turn it to as low of a number as you can.
If you are newer to photography and not shooting in Manual Mode yet (where you control all of your settings) that’s ok.
In the meantime, you can use what is called “Priority Modes”. In a Priority Mode, you set one aspect of the exposure (in this case – you are setting the Aperture) and the camera will decide on the rest. The easiest way is to set your camera in Aperture Priority Mode. That’s the “A” dial on top of your camera. Once you set the dial to “A” you will need to read your camera manual to determine how to change the aperture. It’s most likely one of the dials on top or back of your camera. Each camera is different so just check the manual or google it.
Ok, why am I so concerned about letting lots of light in? Well, we turned off the overhead lights because they are ugly so you will most likely have enough light but not an abundance of light.
By opening up your aperture (by setting it to a low number) you will let more light into your camera and will then be able to capture a nicely exposed image.
Please note:
Aperture controls two “things”. One is the amount of light that gets into the camera. The second is the amount of the image that is in focus.
A wide open aperture (low f-stop number) is great for letting lots of light in. It also creates a “Shallow Depth of Field”. That means that less of the image is in focus. So, the part of the image that you focus on will be in focus and the rest will be blurry. This isn’t a bad thing at all. I love shooting wide open(low f-stop number) because I love the shallow depth of field.
A wide aperture is great for taking picture of baby alone because you will get lots of light on camera’s sensor and you will also get that often desired “blurry background”.
I typically photograph my newborns at f2.8. This allows lots of light in and allows their face to be in focus and the background falls into soft focus.
A wide open aperture can backfire if you are taking pictures of multiple people because the person you focus on will be in focus and then the other people may fall out of focus and be blurry. If you are shooting a portrait that includes multiple people you should change your aperture to at least between f4 – f5.6 to ensure everyone is in focus.
Camera Settings | White Balance
Definition:
White balance is the color balance of an image. It means that your whites look white and your blacks look black.
Why is the snow blue?? Have you ever taken a picture outside in the winter and thought “why is the snow blue?”. That’s because your white balance was off. Most cameras are set to default to Auto White Balance. This is where the camera guesses what colors things should be. It works pretty well most of the time. In order to get “perfect” images you will want to set the White Balance yourself. Again, refer to your camera’s manual to see how to change it.
OK, so what should my White Balance be set to?
When in your house, change your white balance to K (for Kelvin) and then change the temperate to a specific number. 5500 is a good place to start. Depending on your lighting in the room you may need to move it up or down a little to make sure your whites look white.
Keep Baby Happy
A baby who is warm and full is a happy baby. When I’m photographing newborns I keep my studio at 80 degrees. You don’t have to make your house that warm by any means – but I would definitely warm the house up a bit though so that it feels slightly warmer than average to you. Another sure fire way to have a session end before it starts is if baby is hungry. Feed that baby! I start all of my sessions at 10 a.m. I have found that most babies are pretty sleepy at that time. So, for session day here is the schedule I would suggest for maximum baby happiness:
7 a.m. – baby wakes up from the night and feed him/her
7-9: keep baby awake – tummy time and bath time help with awake time
9 am: feed baby again and start session right after
You don’t have to stick with that exact schedule but it’s a pretty good framework to have a nice tired, full and content baby!
Lighting
One of the hardest things to learn, but probably the most important, is lighting! Nothing will ruin a beautiful image quicker than lighting that is off. In order to have the most flattering light, just keep a few simple things in mind.
1 – Overhead, fluorescent lights do not make for soft, flawless newborn images! Therefore, you want to plan to take your baby’s pictures when you have natural light available.
2 – Now, when we start talking about natural light, you do NOT want the sun shining directly in your windows. Rather, you want “indirect” light.
How can you tell the difference? Look at the floor near the window. If you see light beams, that’s direct light. If it’s just brighter without specific beams, you are good to go and that is indirect light.
For the most part, if you plan to take baby’s picture in the late morning or early afternoon you will be good from a lighting perspective.
And most importantly – turn off the overhead lights!
But wait . . . Do NOT, I repeat . . . do NOT use the pop up flash! A pop up flash is just ugly. It causes unflattering shadows and very harsh light. Now you are probably thinking I’m crazy because I have already told you to turn off the overhead lights. Stick with me here.
Most rooms have at least 1 window. That window is going to be your best friend. Open the blinds, push away the curtains etc and let all the gorgeous soft light in!
3- Another rule to keep in mind is that the closer your light source, the softer the light. I know that always seems counter intuitive but just embrace it. The closer the light, the softer the light. So when possible, get right up next to the window!
4 – Lastly, never “uplight” the baby. Uplighting is when the light comes from the bottom up. Think about what it looks like if you hold a flash light under your chin and turn it on. Aagh! Dreadful right? You don’t want to do that to your newborn!
The most flattering light will come from the side somewhere between 60 and 90 degrees. Just remember to put baby’s head closer to the light (i.e. window) than their feet.
Here’s an example of side lighting:
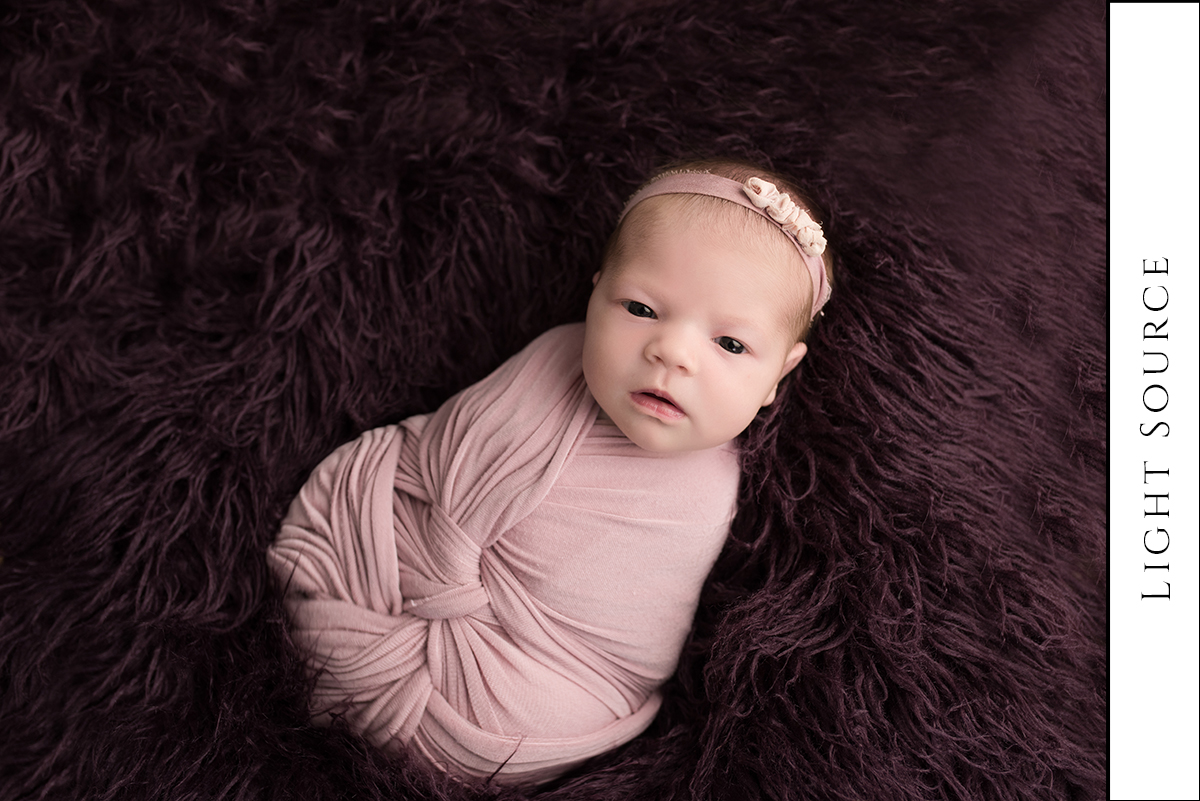
Pose Ideas
Ok, you have your camera, you are looking at your windows and baby is full and sleeping. Now what? Let’s get started? Below is a suggested list of poses you can attempt with your baby.
In Baby’s Nursery:
- Newborn swaddled and laying on pretty blanket (photograph from top down) . . . full body, face only, profile of face.
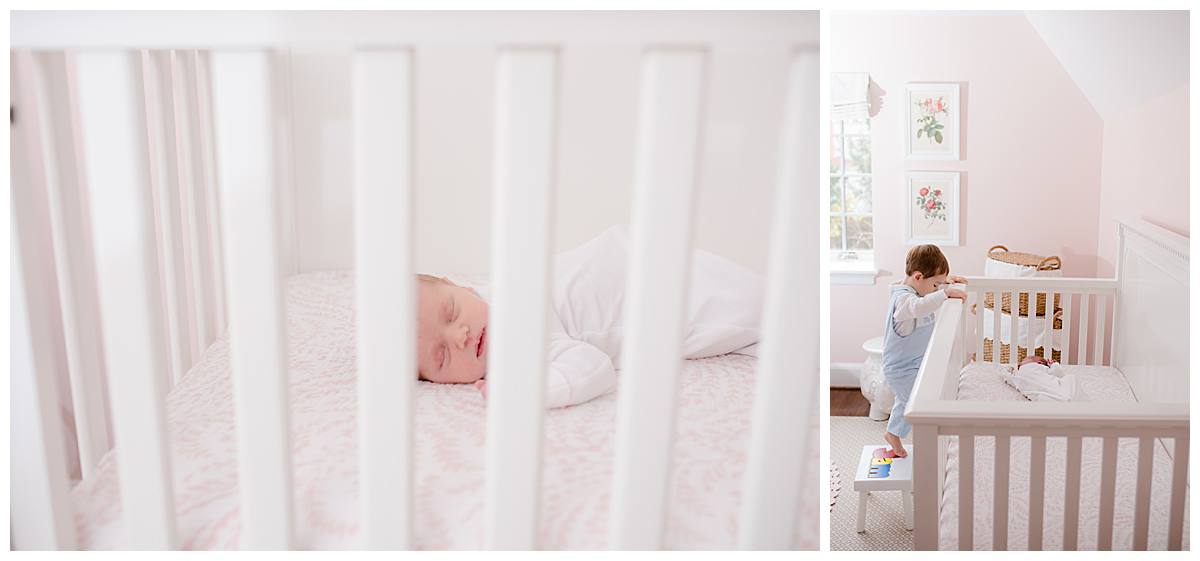
- Place baby in crib and photograph top down (Full body and face only). Shoot through the crib rails for an artistic image.
- Big sibling looking through the crib at baby. Step back and include some door frame for a more artistic image.
- Mom in chair with baby. Shoot from outside of room, close up and then top down
- Dad in chair with baby. Shoot from outside of room, close up and then top down
In Master Bedroom:
- Mom laying on side holding baby. Shoot from outside of room, close up and then top down
- Sibling holding baby on bed.
- Mom with all kids on bed
- Baby in a different swaddle on bed
- Baby on belly on bed
In Family Room:
- Mom & Dad standing by big window holding baby (wide and tight shots; separately and together)
- Mom with all kids on couch
- Dad with all kids on couch
- Whole family on couch (you will need a grandparent to shoot this one or can use the timer on your camera)
Here are few examples:
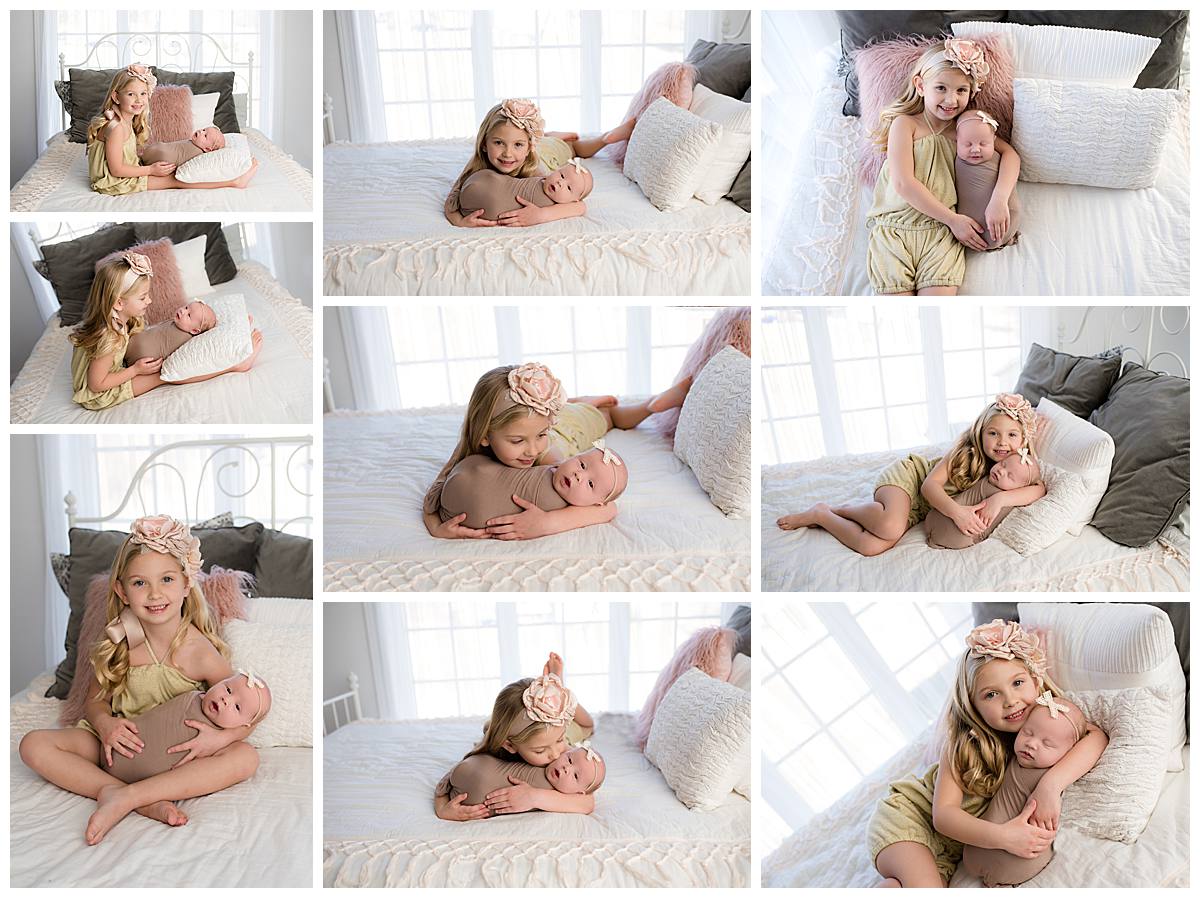
Sibling with newborn in master bedroom. Yes, this is my studio but you get the idea. A pillow is a great way to prop up newborn and make it easier for older sibling to “hold” baby”.
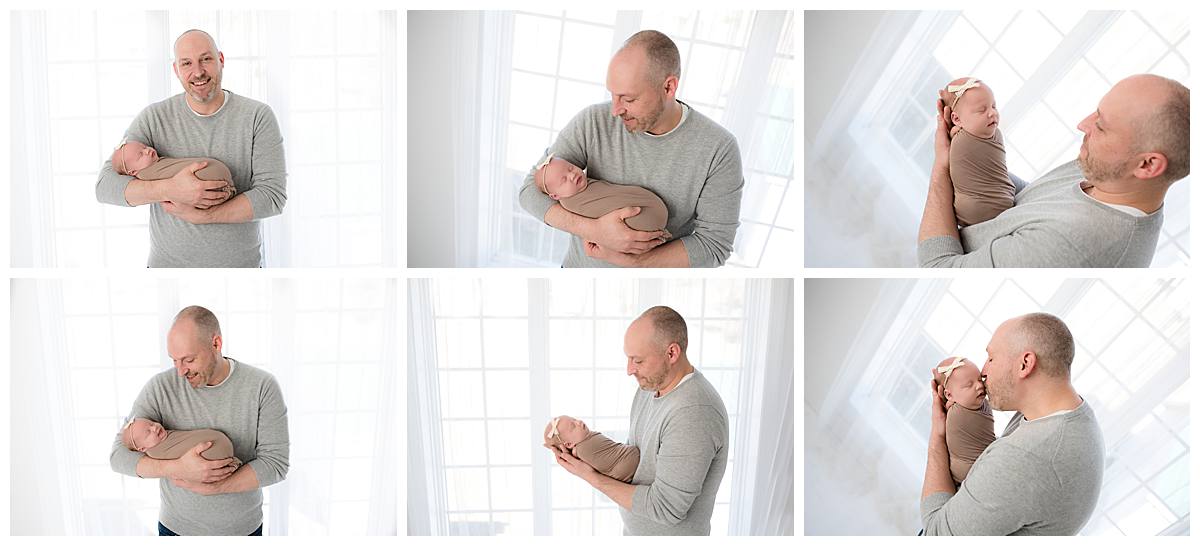
New dad and newborn. Sliding doors and/or large windows make a great backdrop.
Don’t forget about unique angles. In this one, I’m standing on couch behind mom and dad.
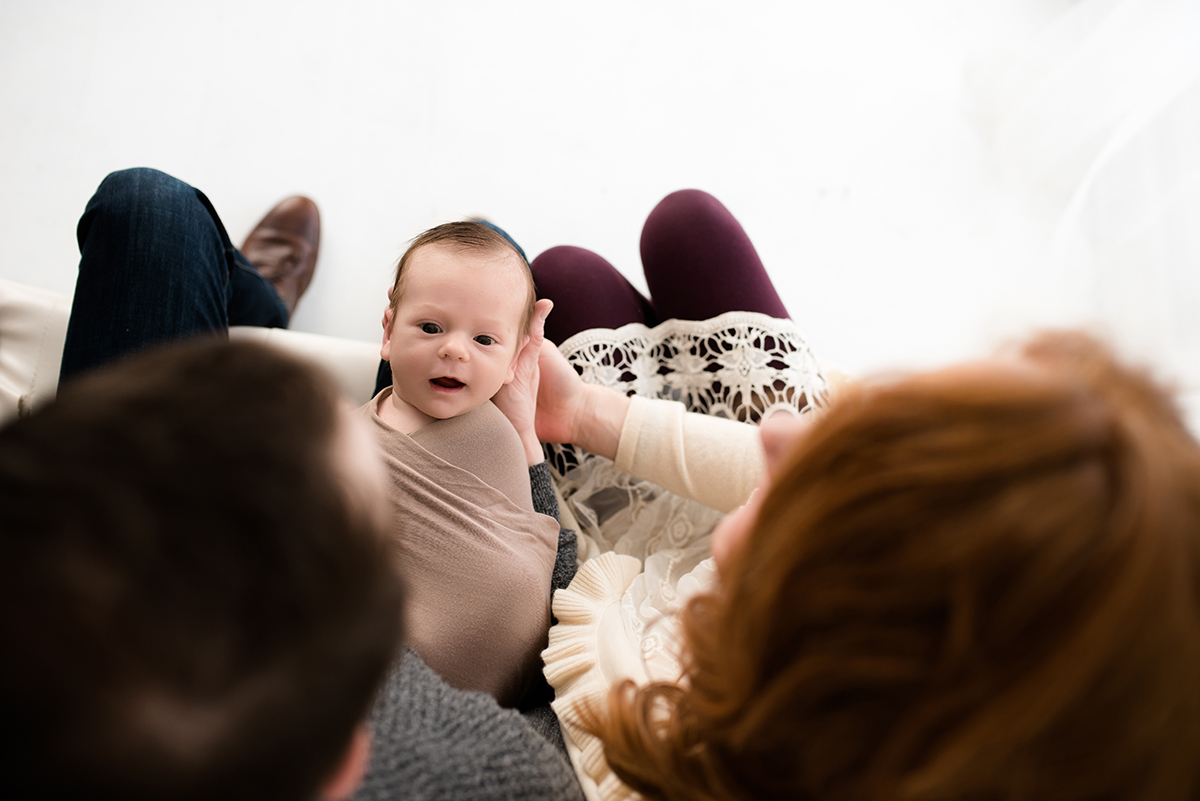
Vary where you stand and you will get more unique images. From outside the room, then get closer, then get super close and shoot down.
Don’t forget to include big siblings!
A little onesie or basic swaddle is timeless and adorable!
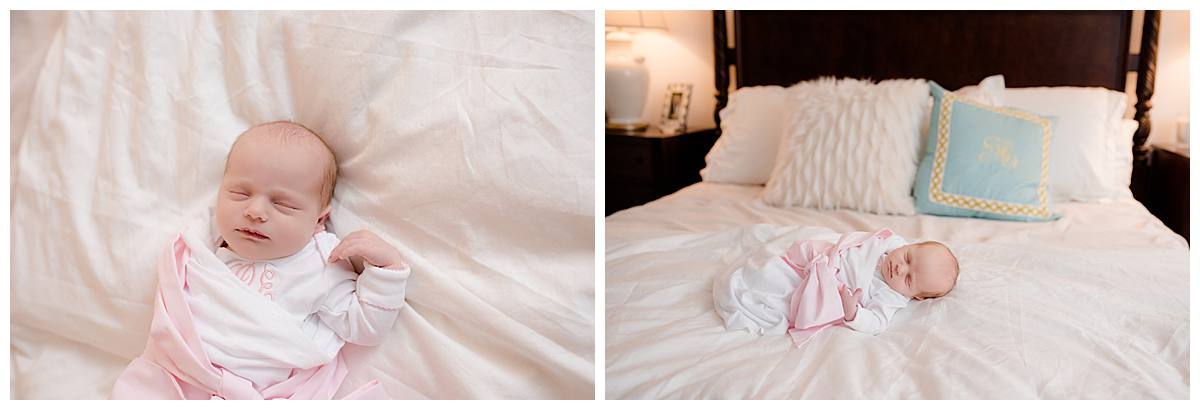
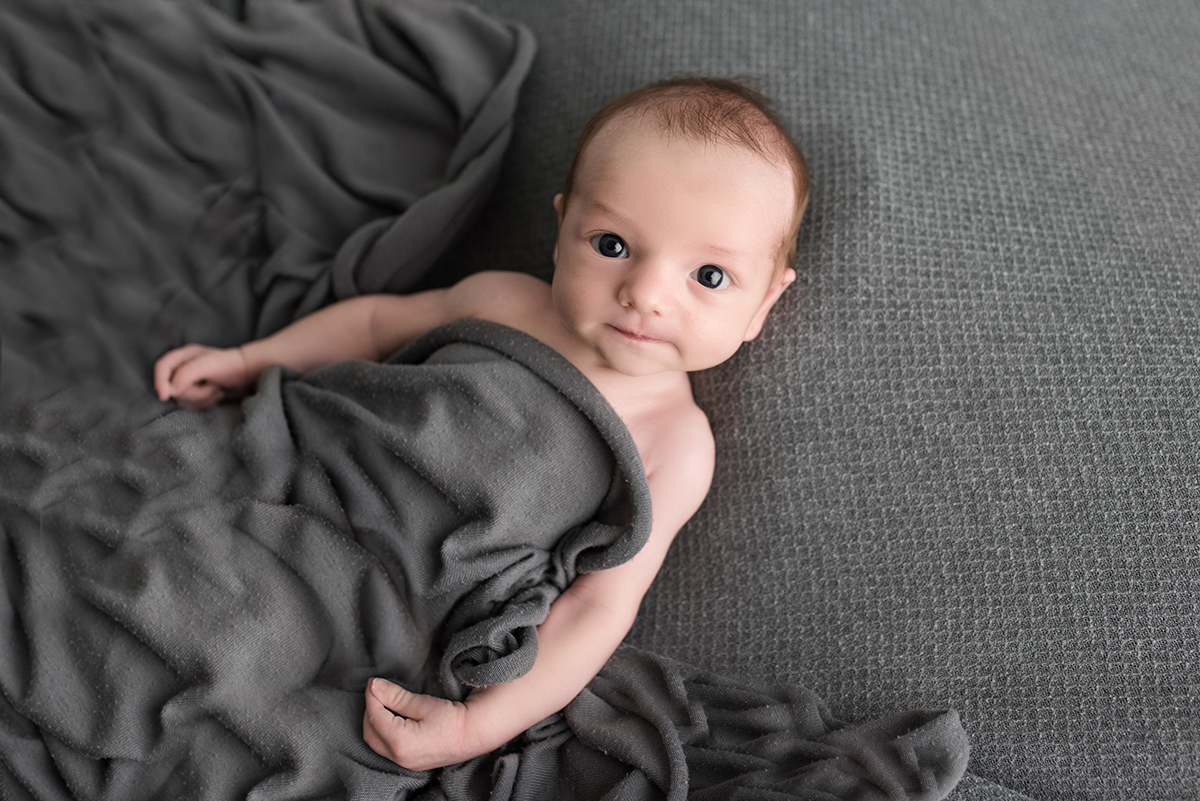
If baby is awake, keep shooting!
Last but not least, if you can find a relative to help, make sure you get some images of the whole family – – you can all squeeze on your house or on your master bedroom. Whichever has better light.
Macro Images
Don’t forget to document all of their adorable parts! Eyelashes, toes, fingers, lips . . . photograph it all!
Slightly, Challenging Poses
Yes, I told you not to attempt the more challenging poses (and I still agree with that advice!). If you are feeling like you would like to try some of the basic poses, you can see how they are done here -> Newborn Posing Videos
All you would need are a few blankets, a table, and some folded up receiving blankets!
Get in the Pictures
After you deliver a baby you do not feel like the most beautiful versions of yourself (although you should). I know a lot of moms opt to just capture baby and dad. Believe me, I get it! But what I can tell you is that the thing I regret most is that I am not in any pictures with my kids when they were newborns. You can NOT get this time back. There are no do-overs. These are fleeting moments and if you opt out of them you can not opt back in.
The thing about these images is that there are no rules. You don’t have to buy a fancy dress. You don’t have to do have your makeup professionally done (although if it makes you feel better just put a little on). You don’t have to spend hours on your hair.
These images are meant to capture you bonding with your baby. Capture emotion, capture connection, capture it all!
Let Go of Perfection
One of the very first things I tell my clients is that there is so much beauty in the chaos of family life. Don’t expect every image to be “perfect” with everyone looking at the camera and smiling. Those are really nice images and I photograph them and lots of clients buy them. But there is something extra special in the more unique or unposed images. Below, this little girl wasn’t excited about sitting still and dad just started tickling her – and look how cute!
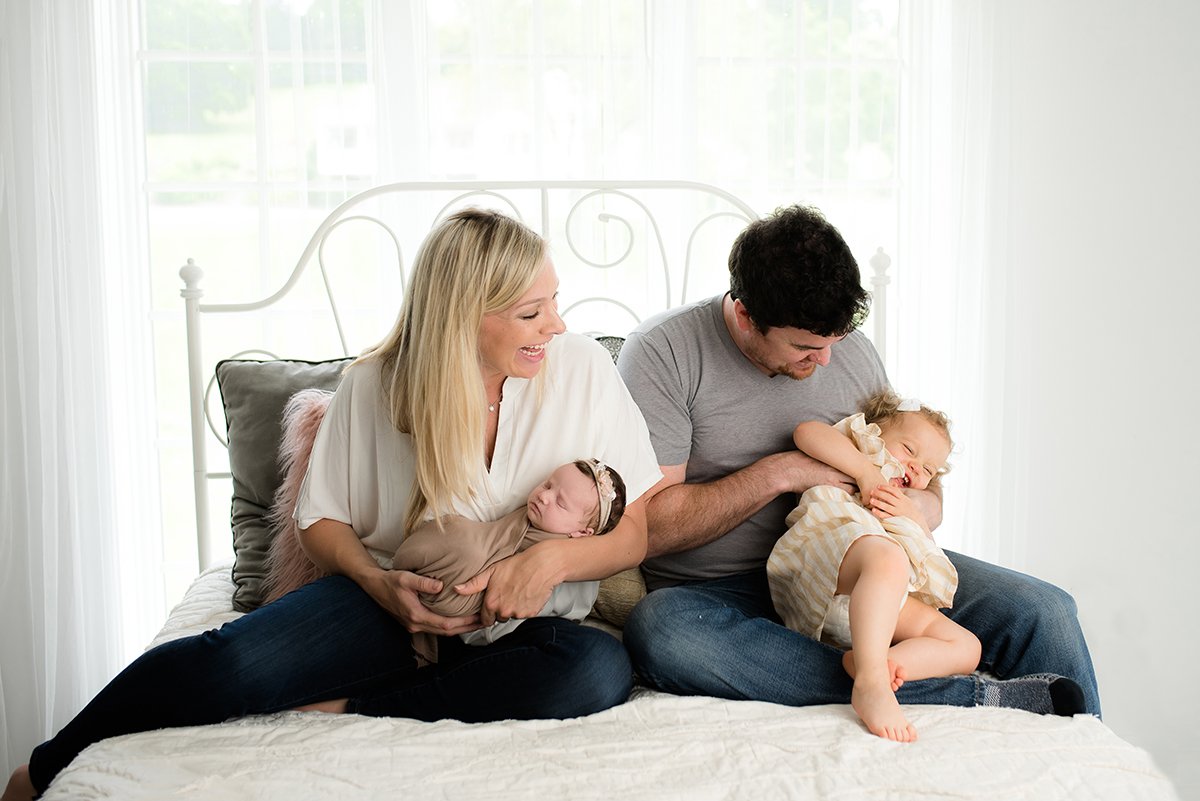
If you made it this far – thank you! Good luck in your photography endeavor! I’m here to answer any questions that you may have.
I actually started a free Facebook group where I can answer any and all questions and help you trouble shoot.
Join here -> Free Facebook Group
Thanks so much!
Leave a Reply Cancel reply
follow me @juliekulbagophotography
JK
juliekulbagophotography@yahoo.com
Love my website? Click here for $500 off of a R&I customized template.

